A Shark Hunt is a reusable set of send actions and monitor filters that you build once and run in one tap on every visit. This guide walks through the five-step creation wizard and explains how to configure each of the six action types.
For what Shark Hunts are and when to use them, see Shark Hunts. For running a hunt, see the Shark Hunts page.
Before you start: creating and running hunts is a premium feature on Android, iOS, and macOS (Subscription Plans). You can keep up to 25 hunts with up to 25 actions each - all limits are listed in Limits.
Tip: load your ETS project first. With a project, you pick group addresses, devices, and rooms from lists instead of typing them, and two of the monitor action types are only available with a project.
The Creation Wizard
On the Shark Hunts main page, tap the + FAB to open the wizard.
Every wizard step has:
- An X button (top left) to close - the app warns you about unsaved changes
- Back / Next buttons at the bottom to navigate between steps
- A Save & Close button (the disk icon, top right) that appears once the hunt has a name (and, from the Actions step on, at least one action). It saves your progress so you can finish later - the unfinished hunt shows with a grey border on the main page until you complete the wizard
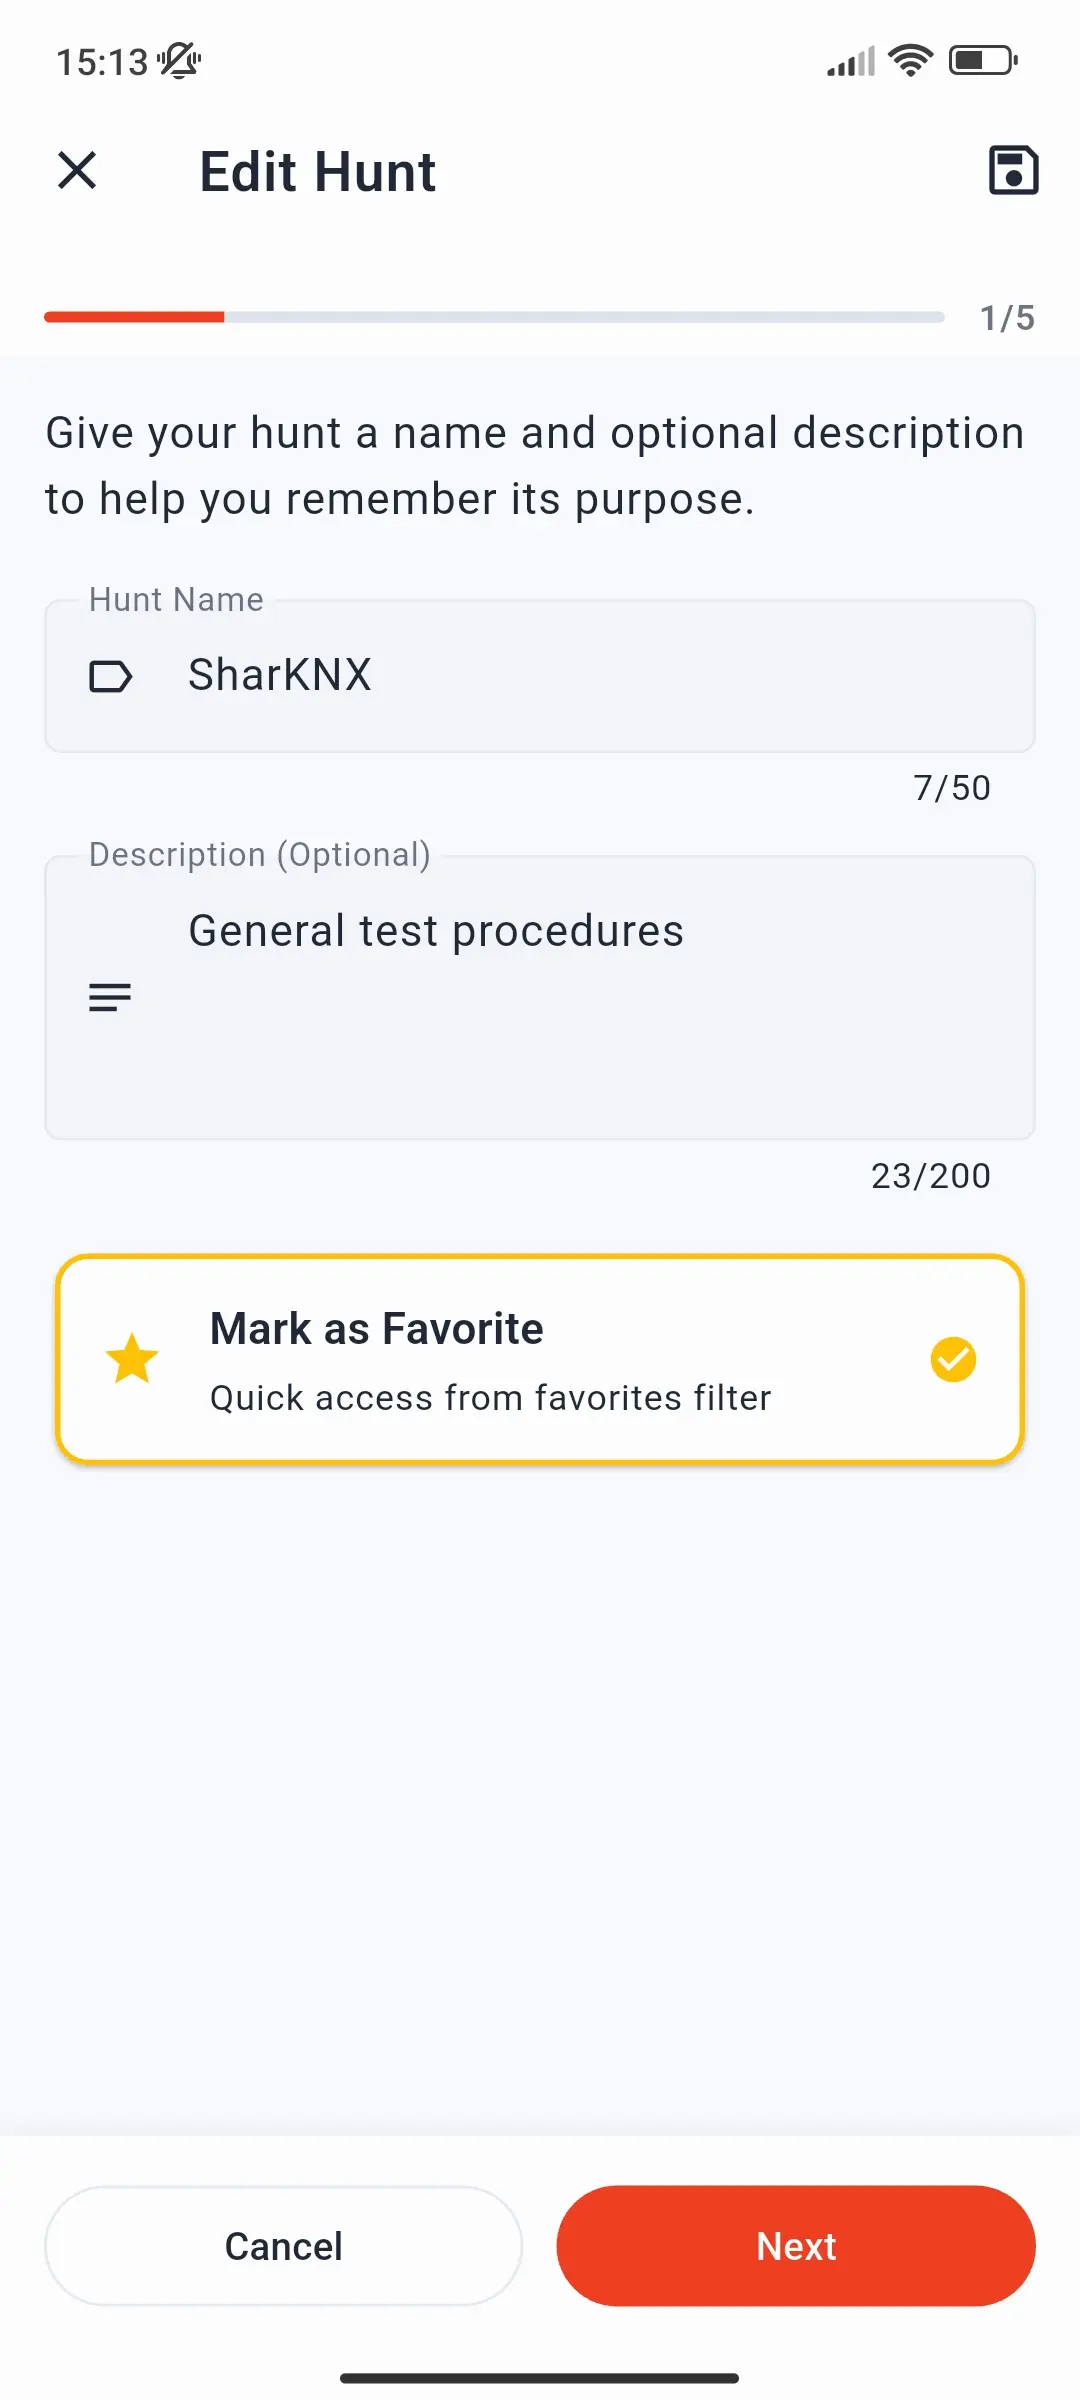
Step 1 - Name and Description
Enter a name for the hunt (required, up to 50 characters) and an optional description (up to 200 characters). Turn on Mark as Favorite to find the hunt quickly with the favorites filter on the main page.
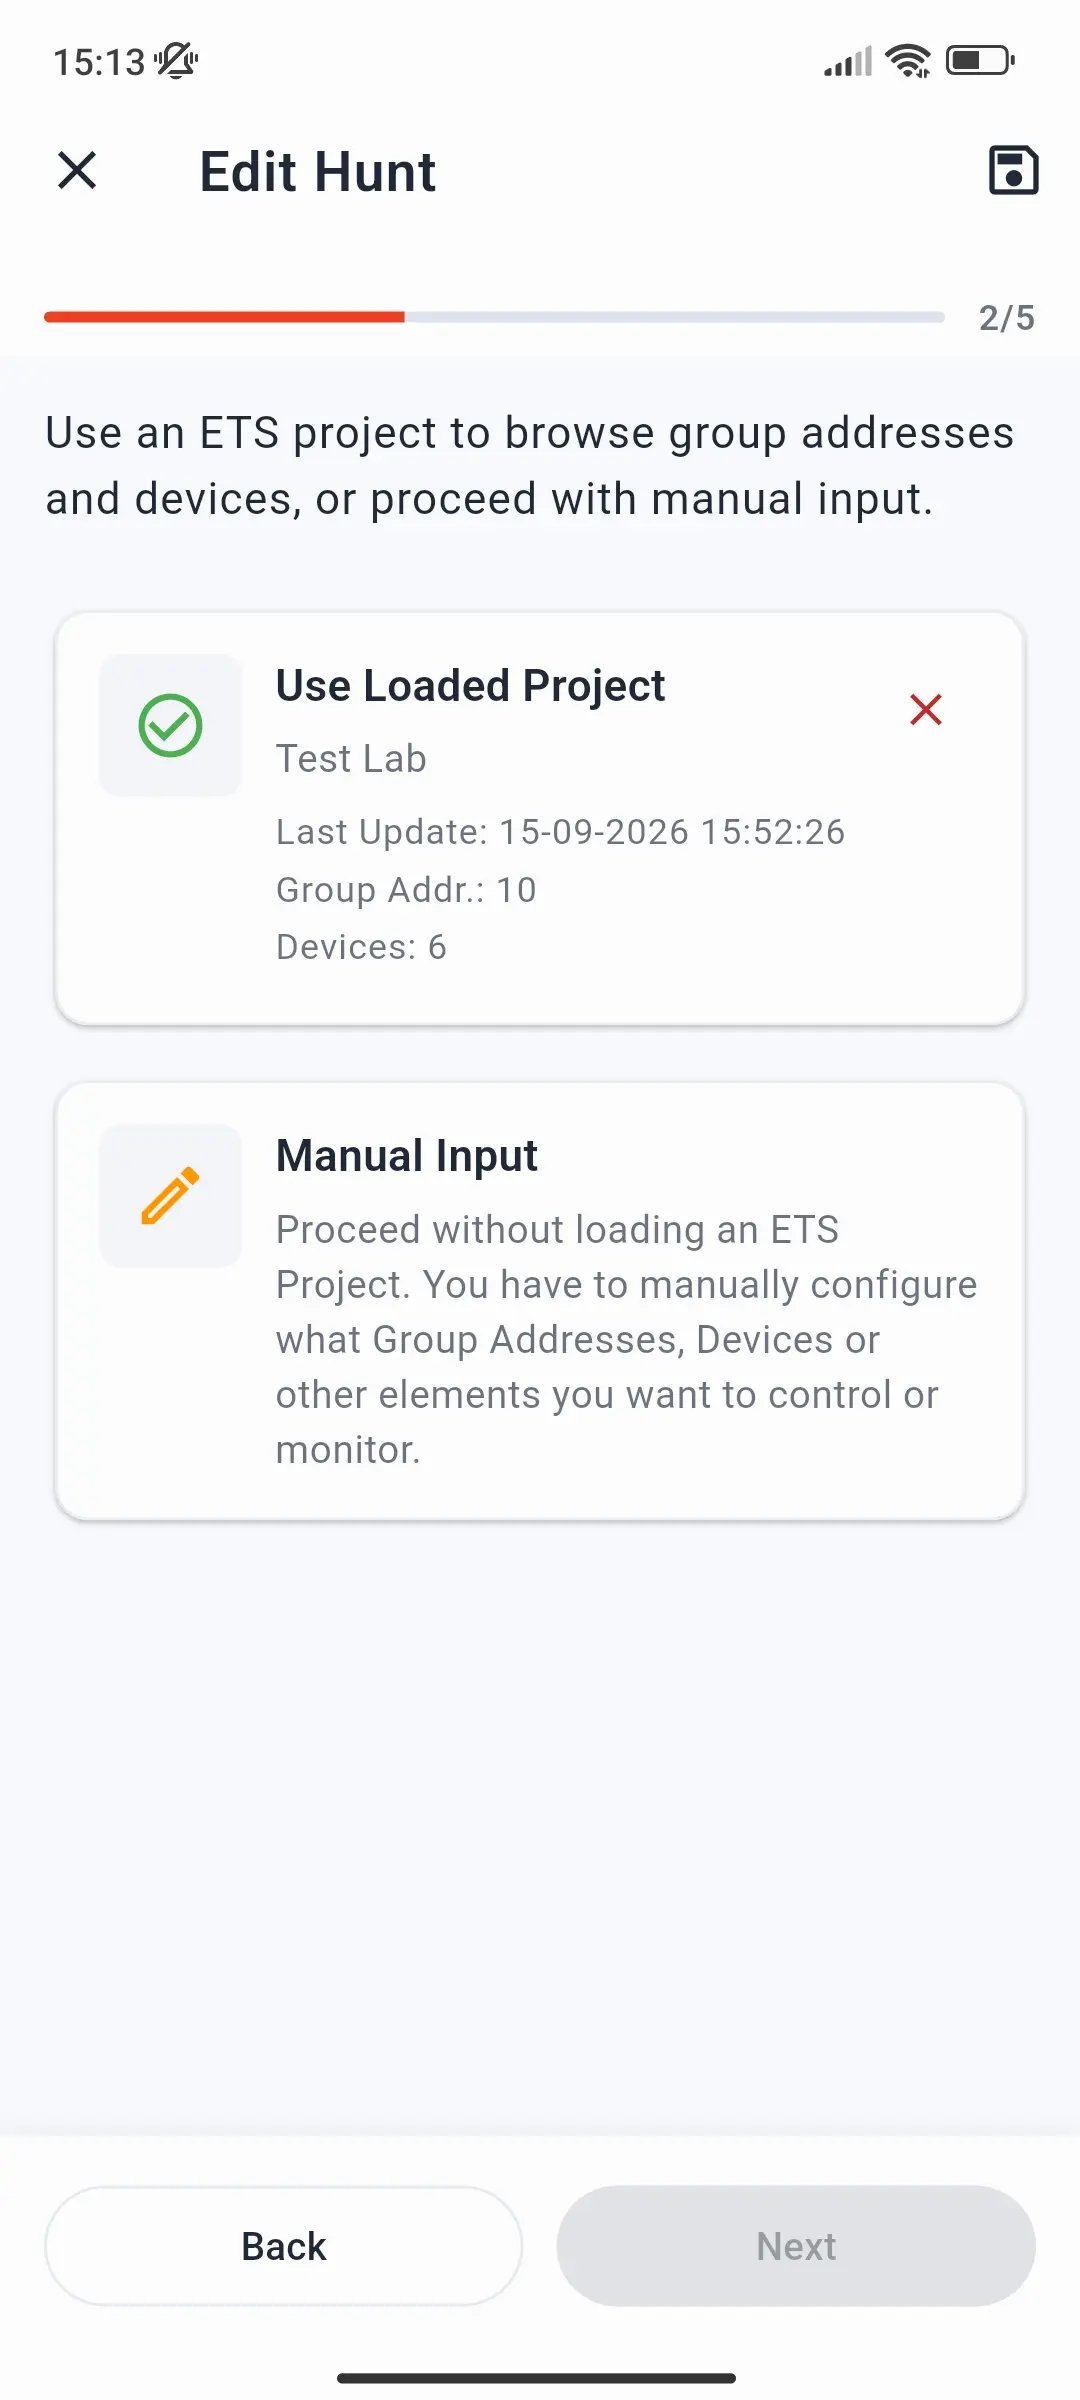
Step 2 - ETS Project
Choose whether this hunt will use an ETS project:
| Option | When to use |
|---|---|
| Use Loaded Project | A project is already loaded - the hunt uses its group addresses, devices, and building structure when you create actions |
| Load ETS Project | No project is loaded yet - opens the file picker so you can load one now |
| Manual Input | You don't have or don't need a project - you type group addresses and device addresses yourself |
Monitor Space and Monitor Device need an ETS project, and so does the Text search condition of a Custom Monitor. Without a project, those options are not available in Step 3.
Step 3 - Actions
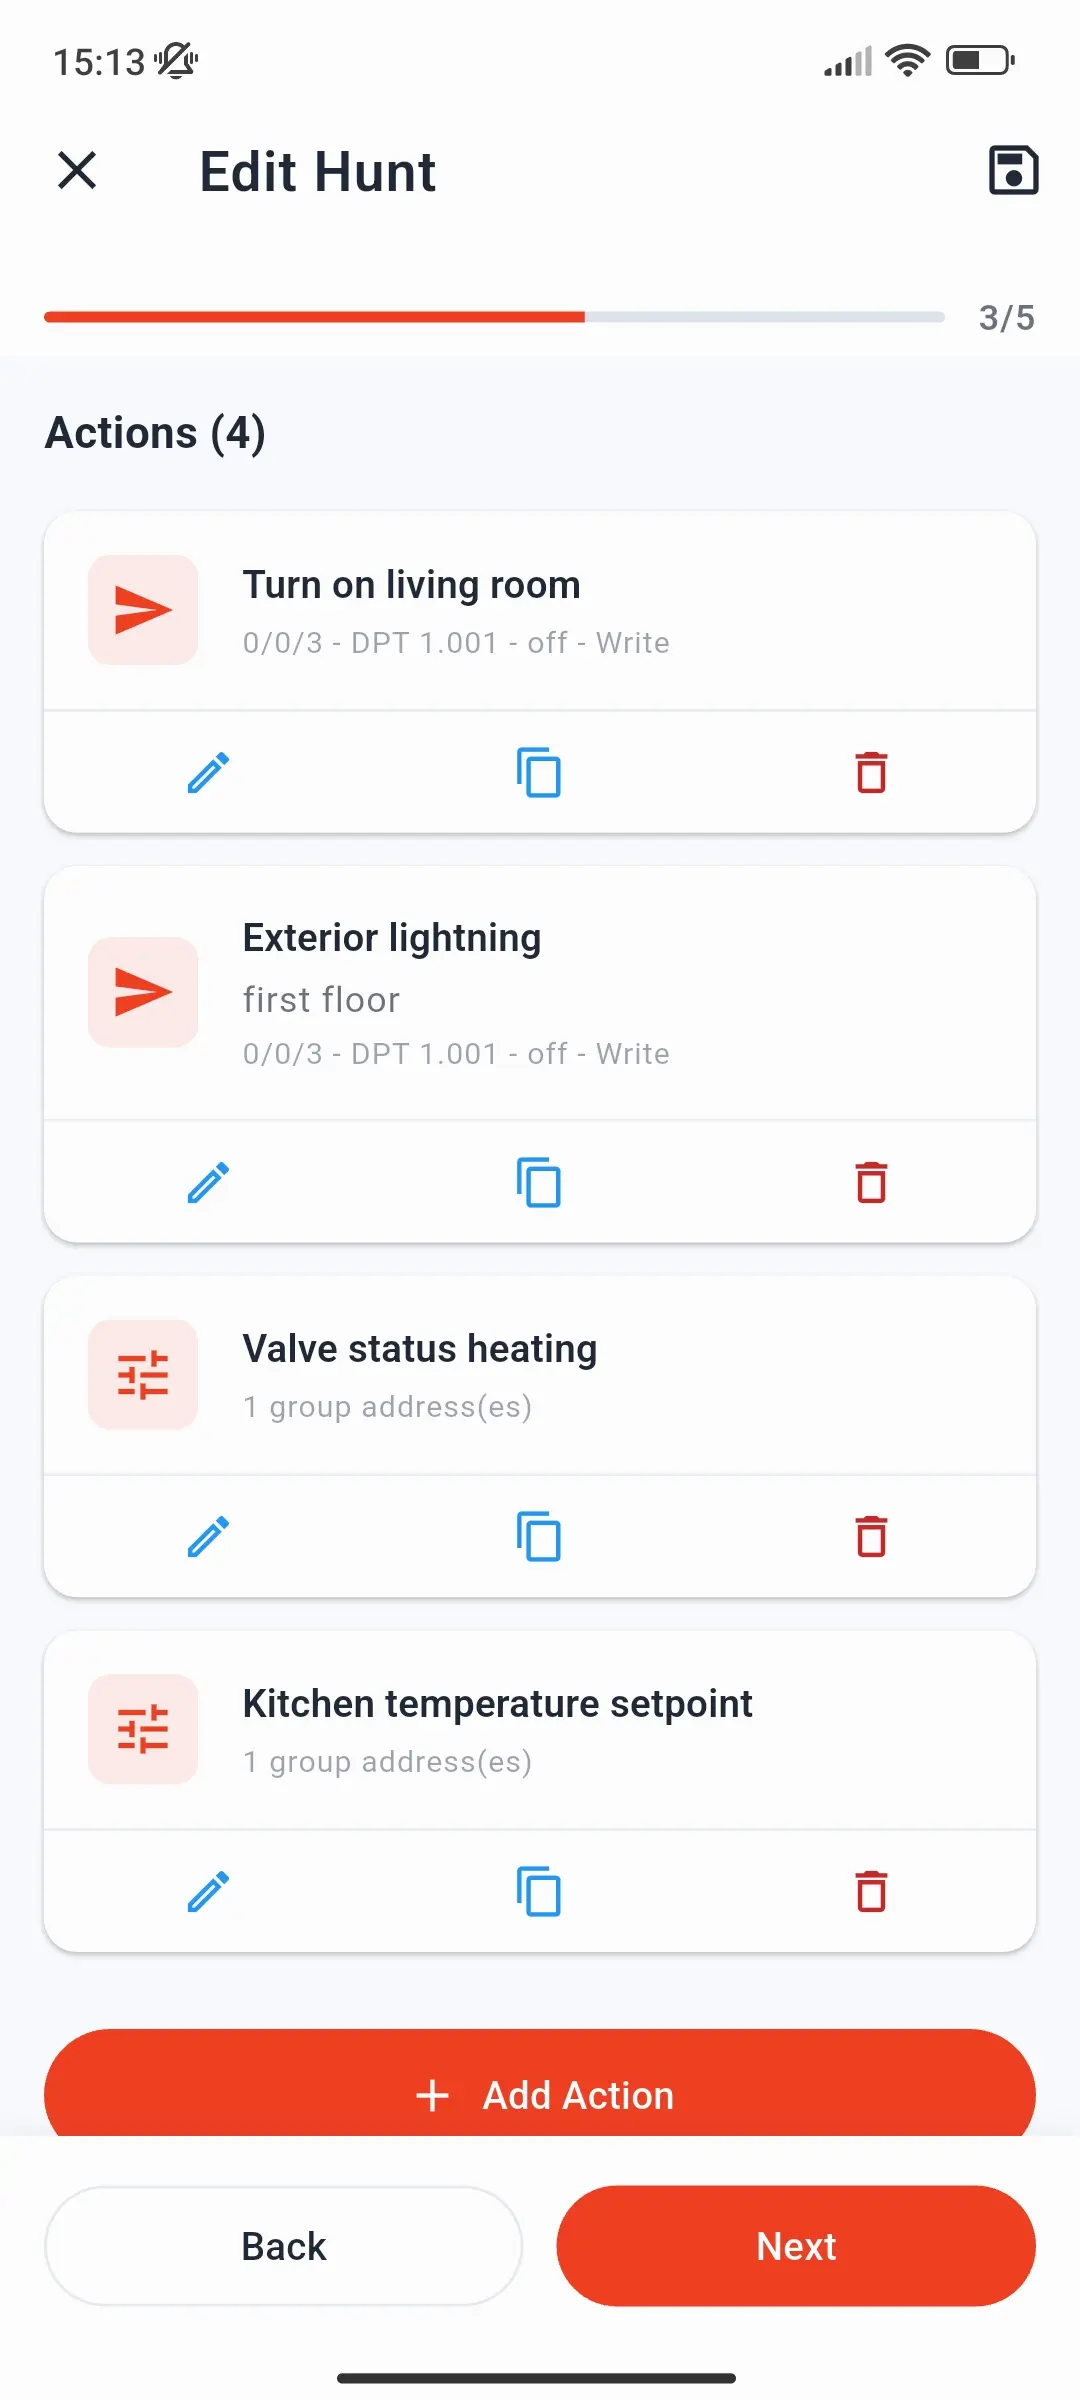
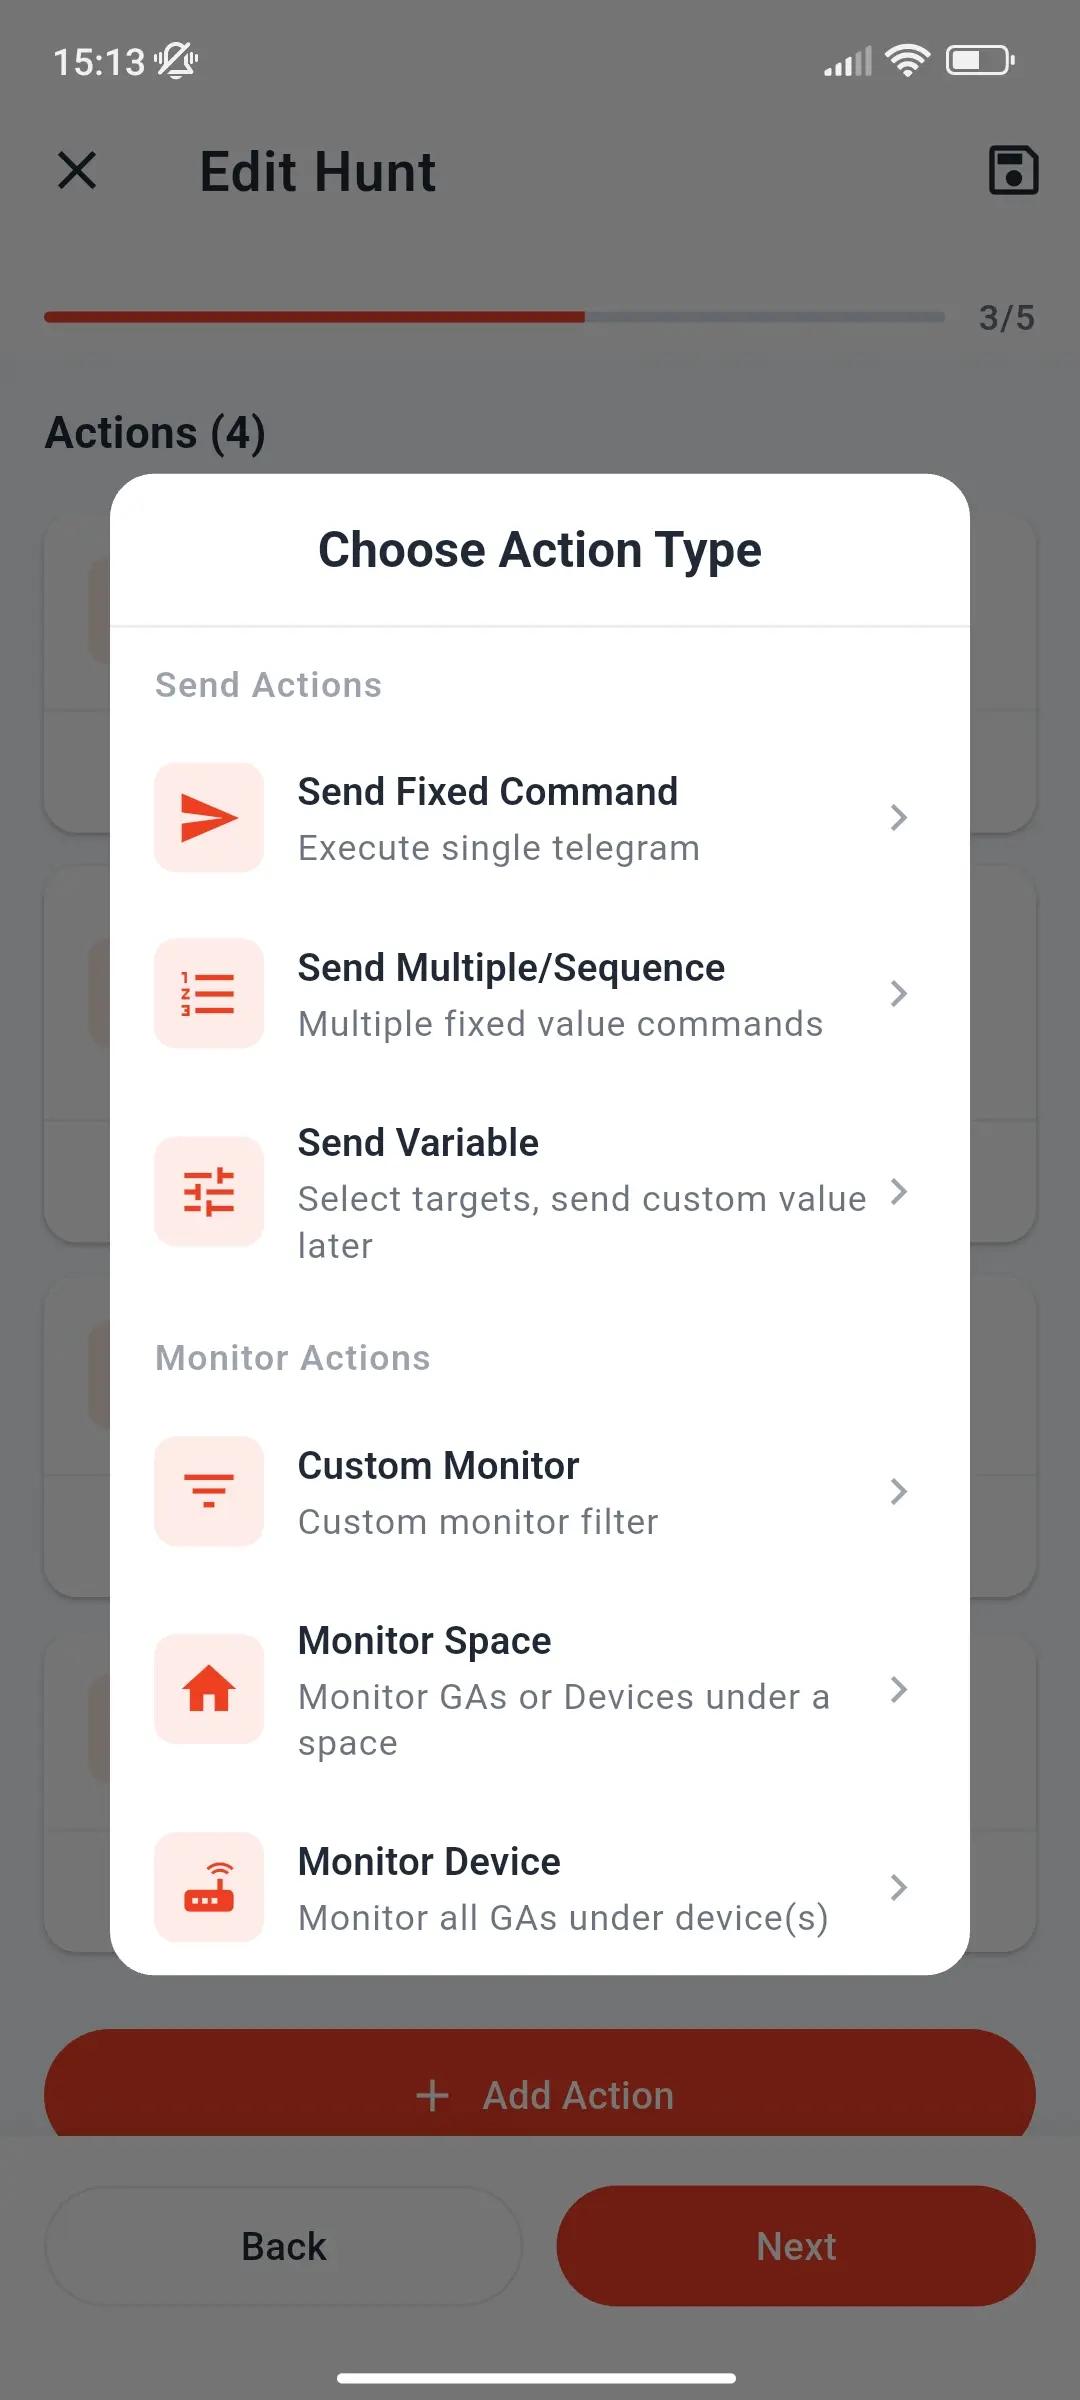
This is where you build the content of the hunt. Tap Add Action and choose an action type from the list. See Action Types below for full details on each type.
Created actions appear as cards. Each card has:
- Edit - reopen the action configuration
- Copy - duplicate the action (useful for similar actions with small differences)
- Delete - remove the action; you can also swipe the card away
Repeat until you have all the actions you need.
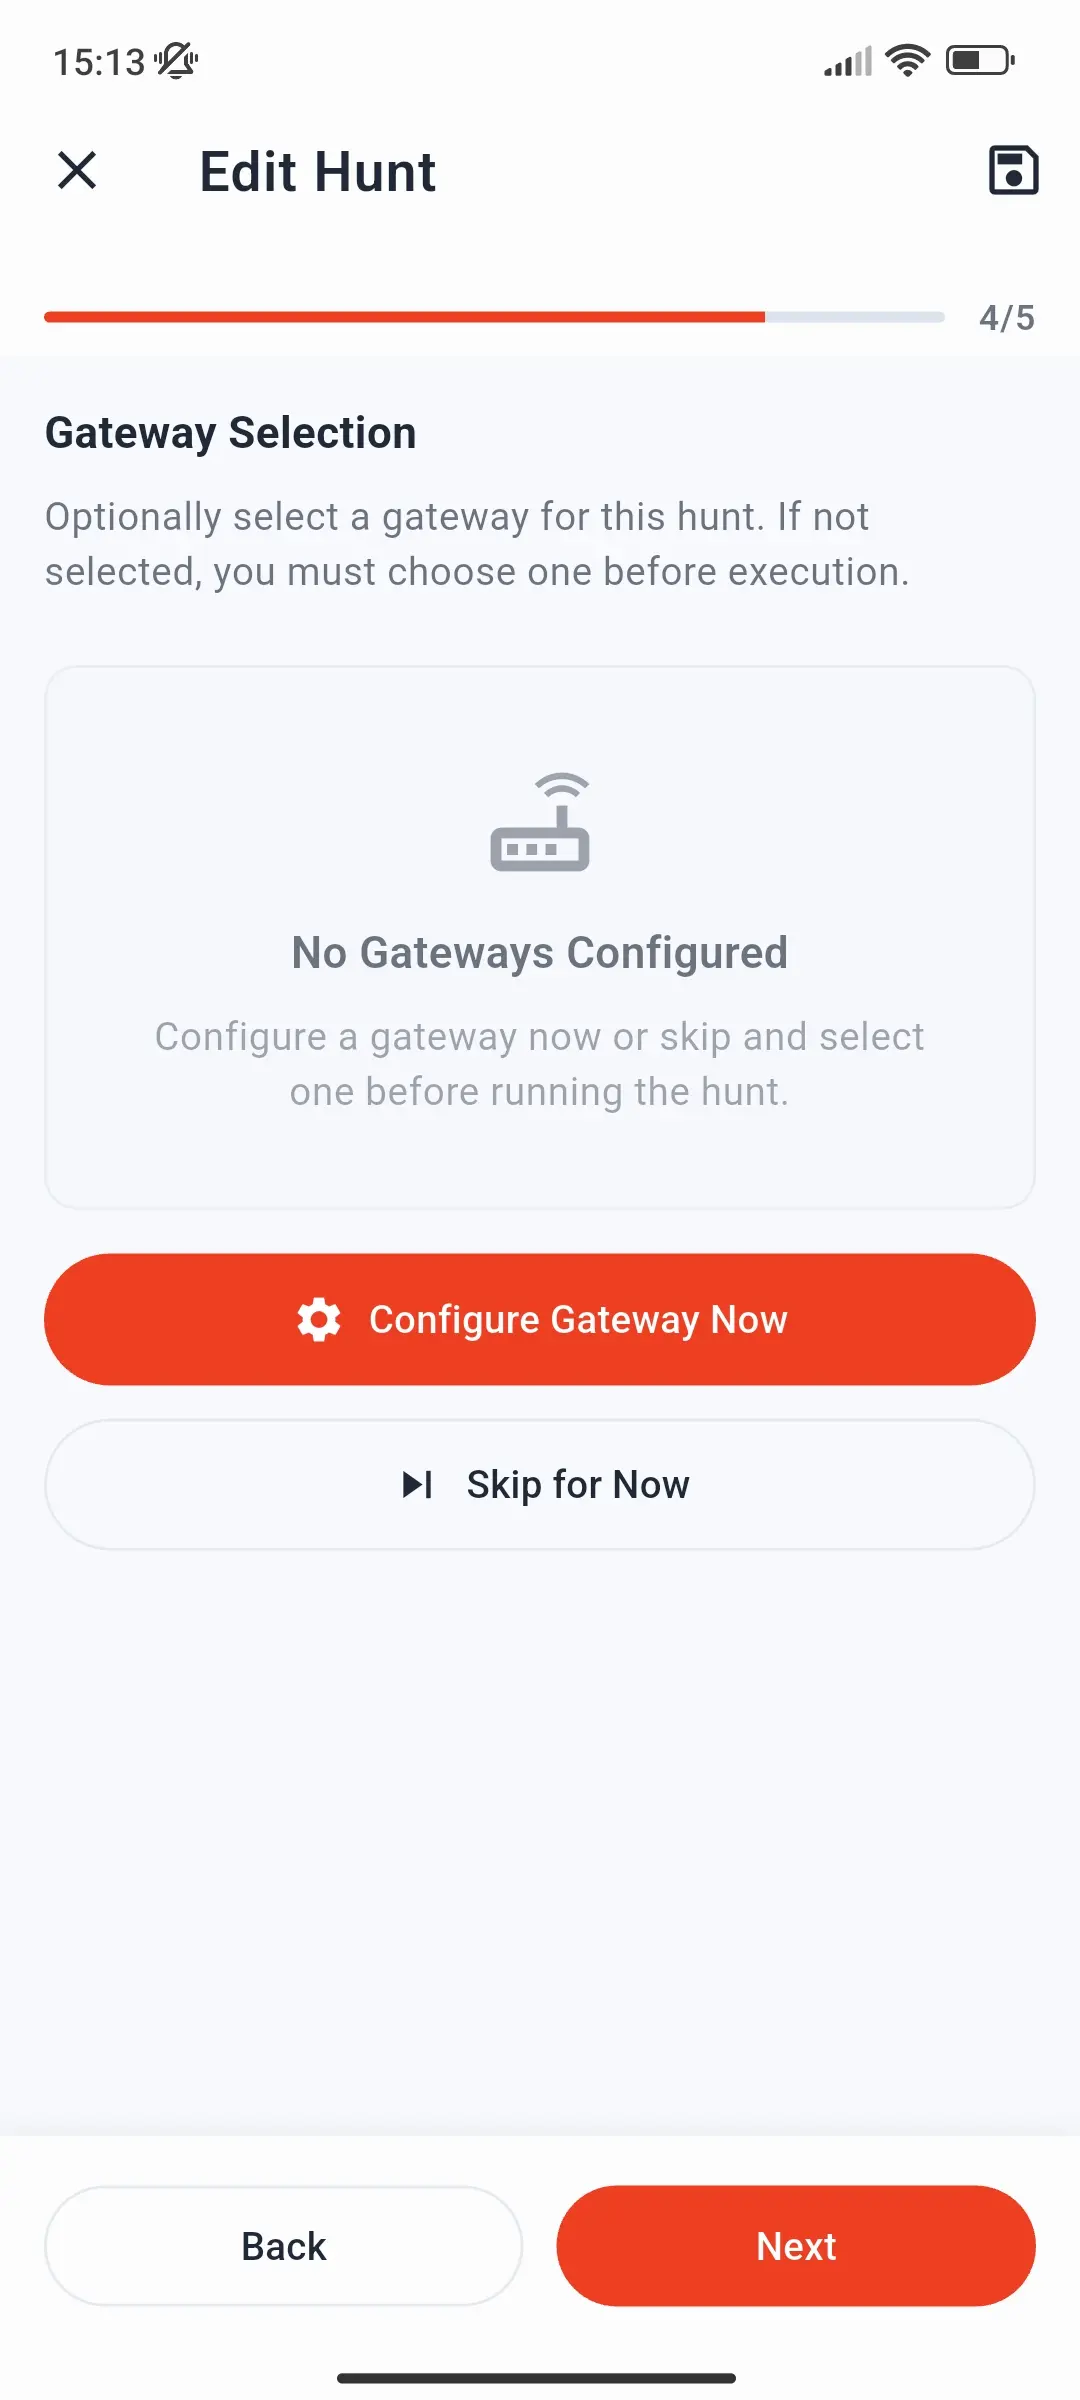
Step 4 - Gateway (Optional)
Optionally embed a gateway in the hunt. Whoever runs the hunt - you on your next visit, or a colleague you share it with - can then connect without discovering or configuring anything.
Pick one of your saved gateways (the ones on the Config tab of the Connect page), or tap Configure New Gateway to enter one - Configure Gateway Now if you have no saved gateways yet. Tap Skip for Now if you don't need one - you then choose a gateway when you run the hunt.
For a KNX IP Secure gateway, only the connection details are stored - never the credentials. Whoever runs the hunt loads their own keyring or project. See KNX IP Secure.
Step 5 - Review and Create
Review Your Hunt summarises everything you set up. Tap Create Hunt to finish. The hunt appears on the main page as a card.
Action Types
Each action creation page requires an action name (required) and an optional description. The tick FAB becomes active once all required fields are filled, and tapping it saves and creates the action.
Send Fixed
Sends one fixed value to one group address every time the action is tapped.
- Enter the group address, or tap the search icon to select one from the loaded ETS project (auto-fills the DPT).
- Choose Write or Read.
- Select the DPT type and subtype.
- For Write: enter the value to send (e.g. On, 75%, 21.5°C, Scene 3).
- Tap the tick FAB to save.
Examples: Toggle a light on, set a thermostat setpoint, recall a scene, test a shutter position.
Send Multiple / Sequence
Sends a list of fixed commands in sequence, optionally with delays between them.
- Tap the + button to add the first command - the command composer opens. Enter the group address, DPT, read/write, and value, then tap the tick FAB to add it.
- Tap + again to add more commands (up to 15).
- Each command appears as an expandable card showing the DPT and value, with buttons to edit, duplicate, or delete it.
- To add a delay before a command: tap the "Immediate" subtitle on a card and enter a delay in seconds (max 10 s). The next command will wait that long before executing.
- To reorder: tap the six-dot drag handle on any card and drag it to the desired position.
- Tap the tick FAB to save the action.
Example: Set scene → wait 2 s → read status → wait 1 s → send confirmation.
Send Variable
Sends a value you choose at run time to one or more group addresses. Useful when you need to test different values on the same address or broadcast to several related addresses at once.
- Enter a group address and tap Add Group Address. Repeat for each target address (up to 15).
- Use the project search to multi-select group addresses from the loaded ETS project at once. Clear All removes every target.
- All added addresses must share the same DPT. Mismatches are highlighted on the address cards but do not block creation - just be aware that the device may not respond as expected.
- Tap the tick FAB to save.
When you run this action in the hunt page, a bottom sheet opens with a DPT-appropriate value input. Enter the value and confirm to send to all target addresses.
Examples: Select all thermostat setpoint group addresses in a floor and send 21 °C in one tap to verify that every HVAC zone responds correctly. Or target all dimmer channel addresses in a room and sweep through brightness values to find the one causing flicker.
Custom Monitor
Creates an advanced filter for a monitor session using one or more conditions combined with AND / OR logic.
Tap the + button to add a condition. Up to 10 conditions can be added.
Choose the condition type:
Condition What it filters Group address Show only telegrams to specific group addresses - up to 20, entered manually or picked from the project. Supports wildcards ( 1/*/*,1/*/0). Turn on Exclude From Search to invert it: show everything except these addresses.Device address Show only telegrams from specific individual addresses - up to 20, entered manually or picked from the project. Supports wildcards ( 1.*.*). Exclude From Search inverts it.Telegram type Filter by APCI type: Write, Read, Response, or any combination. Text search Show only telegrams whose group address name or description contains a search string. Requires a loaded ETS project. Timestamp Show telegrams before, after, or between specific times. Useful for testing time-based automation. After adding conditions, set the logic operator between them: AND (all conditions must match) or OR (any condition must match). Inverted conditions are marked with a NOT chip.
Tap the tick FAB to save.
Examples:
- Isolate a suspected device: Add a Device Address condition for the suspected sender AND a Group Address condition for the affected GA range. Only telegrams from that device to those addresses appear - everything else is filtered out.
- Verify a morning automation: Add a Timestamp condition (after 07:00) AND a Telegram Type condition (Write only). Run the monitor the next morning and confirm the scheduler fired the right commands at the right time.
- Monitor everything except your own test traffic: Add a Device Address condition with Exclude for your laptop or phone's individual address, so only real installation traffic is shown while you test.
Monitor Space
Quickly creates a monitor filter scoped to a physical space in your ETS building structure. Requires an ETS project (set in Step 2).
- Choose what to monitor:
- Monitor by Group Addresses - telegrams to the group addresses linked to the devices in the selected space
- Monitor by Device Addresses - telegrams involving the devices in the selected space, by their individual addresses
- Tap Select Space - your ETS building structure appears as a sheet. Select a building, floor, room, or any other space (e.g. Kitchen, Living Room).
- Tap the tick FAB to save.
Up to 750 addresses can be captured from a single space selection. Large spaces with many devices may approach this limit.
Monitor Device
Creates a monitor filter scoped to specific devices in your ETS project. Requires an ETS project (set in Step 2).
- Tap Select Devices - your project's topology appears. Select individual devices, or a whole line or area to include every device in it.
- The filter monitors all group addresses connected to the selected devices.
- Tap the tick FAB to save.
The same 750-address limit applies. Useful for testing communication between two devices or verifying all outputs of a controller.
Editing an Existing Hunt
From the main page, tap the three-dot menu on any hunt card and select Edit. This reopens the wizard with all existing data. You can change the name, add or remove actions, change the gateway, or update any other setting. An unfinished (grey) hunt reopens the same way, with everything you saved.
Sharing a Hunt
From the three-dot menu, tap Share to send the hunt as a JSON file via any share target (email, messaging app, cloud drive), or Export to save the file. To export every hunt at once, use ⋯ Actions → Export Hunts.
The recipient imports the file with ⋯ Actions → Import Hunts on their Shark Hunts page. Imported hunts are added alongside existing ones and never overwrite them. The file format is described in Export Formats.